
Zucchini Roadster Construction Manual for Parents and Children
What an exciting day awaits us! Parents and children, pay attention ... we are going to build a Zucchini Roadster GTS!
Yes, you heard that right, a racing car made from a zucchini!
Zucchini Roadster Ingredients List
- 2x Zucchini
- 1x Cherry Tomato
- 8x Broccoli Florets
- 4x Toothpicks
- 4x kividrops
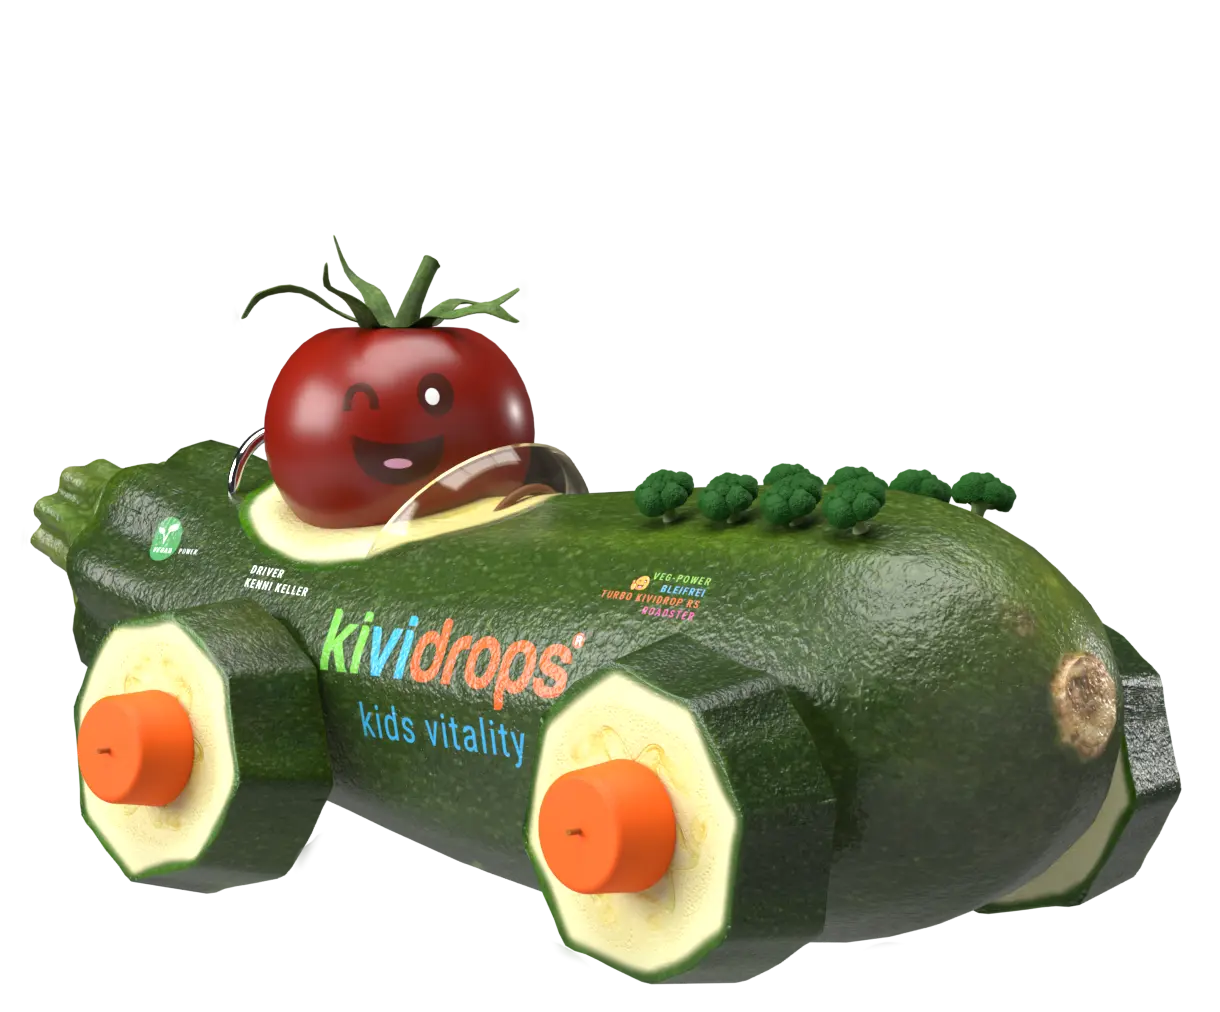
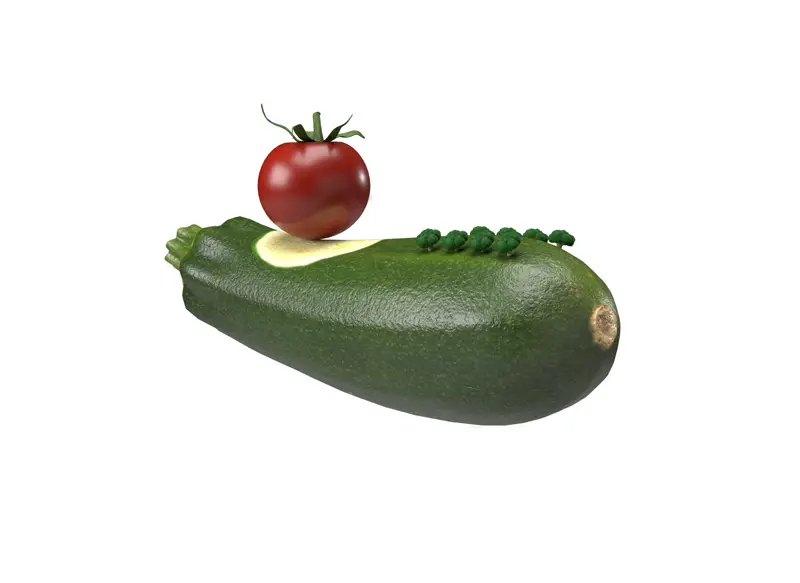
This is what the finished Zucchini Roadster looks like
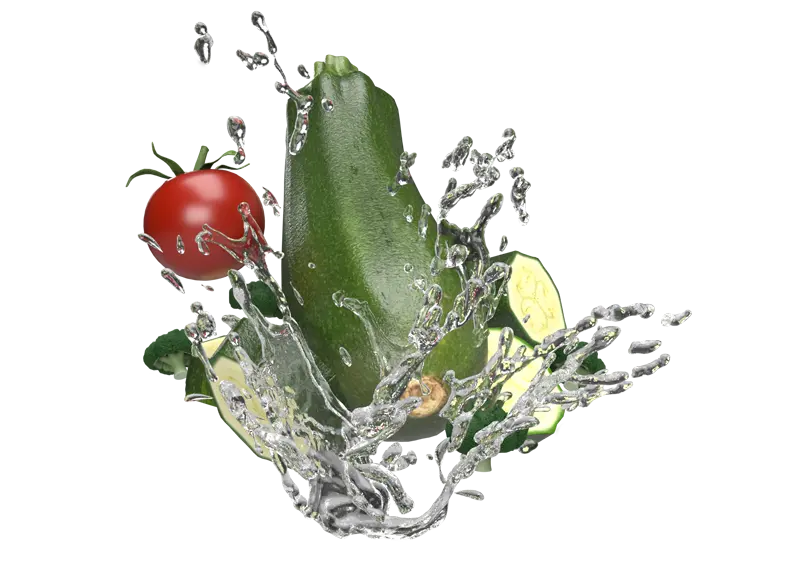
Wash and cut the vegetables
First, we need to thoroughly wash the vegetables and then cut the 8 small broccoli florets.
But be careful, we’ll need the broccoli florets later as a supercharger for our roadster!
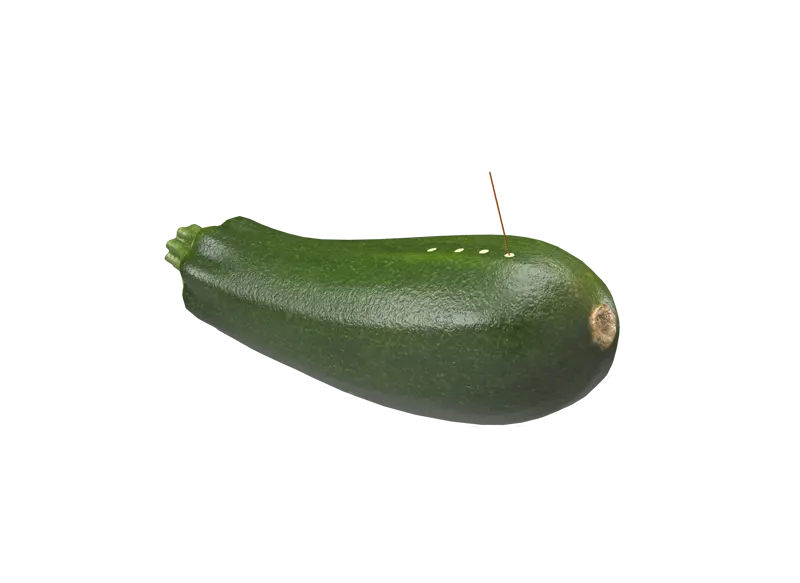
Work on the zucchini
Next, we take the toothpick and make 8 small holes in the zucchini, exactly where the vegetable stem is located.
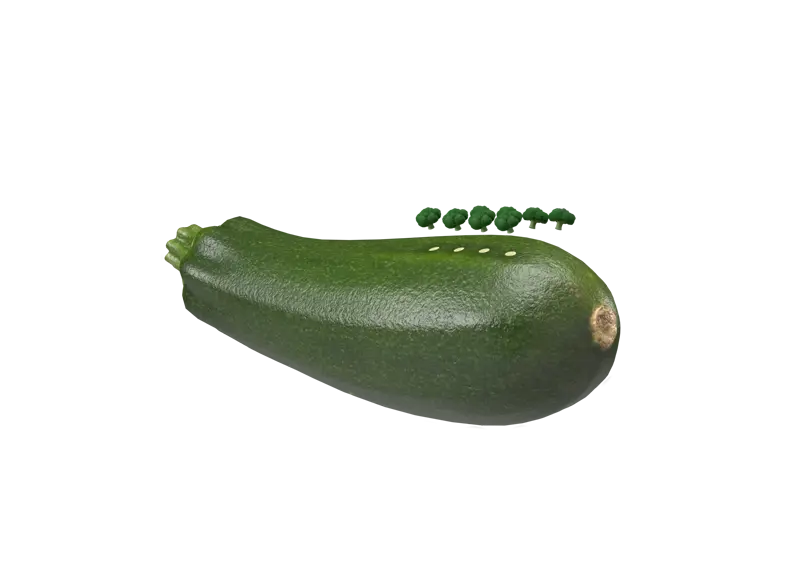
Assemble Vegetable Supercharger
Now we have to insert the mini broccoli floret superchargers into the holes.
Now the zucchini is "charged" with broccoli power.
Driver and Driver's Cabin
But what about the driver? Don't worry, we thought about him too! We take a teaspoon and scrape a small hollow in the zucchini. Our cherry tomato fits perfectly in there.
The Chassis
As the last step, we still need axles, tires, and hubcaps. The four toothpicks can be perfectly used as axles. And if the children get a little impatient during the construction, they can paint the tomato racer with food coloring. A cute face is a must, isn't it?
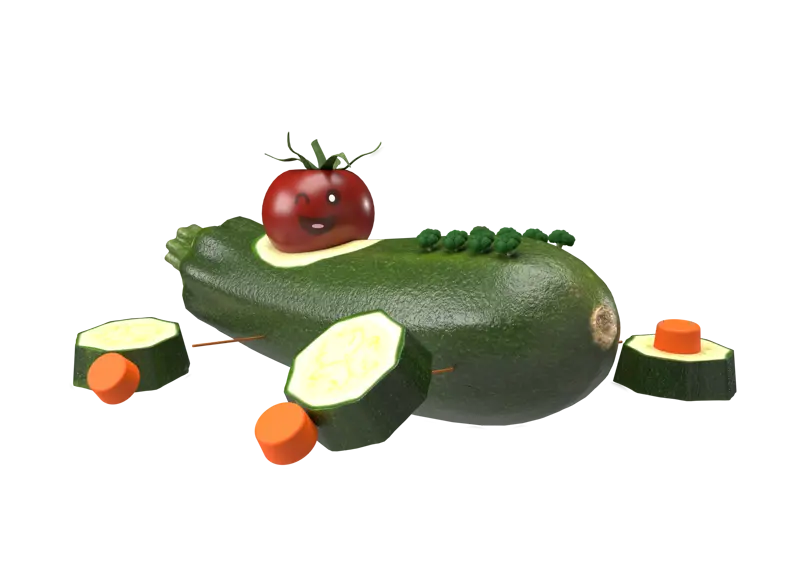
Goal achieved... our zucchini roadster is ready!
We are sure your children will love the roadster 😊
Afterwards, you can cook a delicious vegetable stir-fry from the roadster.
Have fun with it!